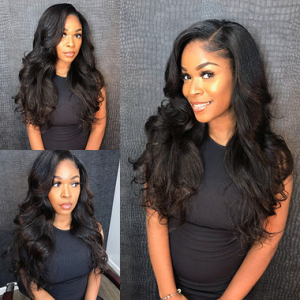
Here is a step-by-step guide to help you wear your U part wig.
1.Measure your head.
Put the wig over your head. This is to help you determine the amount of hair you need to part for a smooth and beautiful look.
2.Part your hair.
Part your hair to your own crown to match the U part wig shape. You can use a rattail comb to do that. In addition to that, make sure that you also part an inch-wide section from your natural hair to the ear. Clip the hair out of the way. You will use the hair when it is time to style your hair.
3.Braid your natural hair.
Created your hair part, it is time to get the rest of your hair as flat as possible. You can do that by braiding it into cornrows. If your hair is short, you can smooth it with a bit of hair gel to keep the strands in place.
4.Put on the wig.
As you hold the wig at both sides with your hands, place it over your head, and split the clips in place to conceal your braids. There must be clips along the perimeter of your v part wig to ensure a perfect fit. The wig should be as flat on your head as possible with your hair part clipped in place.
5.Adjust the wig.
As already mentioned, U part wigs usually come with adjustable straps and clips to help you adjust the wig until it fits securely. If you find that the wig is not fitting well and you need to adjust it, just place the strap over your head to secure your U part wig. This will help prevent the wig from sliding on your head.
6.Cover the hair extensions .
Your U part wig is almost ready. Now that your wig fits securely, you need to cover the hair extensions. Release the hair part you had left earlier along the sides of your head’s crown. Comb through with a wide-tooth comb, and you are done. You can add a bit of hair spray for that beautiful and sleek look.
